
Have you ever tried to print your project schedule only to see that the bottom half of each page is being taken up by the legend and all the items inside?

Now there is a way to completely remove the legend with just a checkbox… but what if you actually want to display the legend and only a few select items? Well, just follow these quick steps:
First navigate to the Format tab > Bar Styles section > Format drop-down > Bar Styles option.
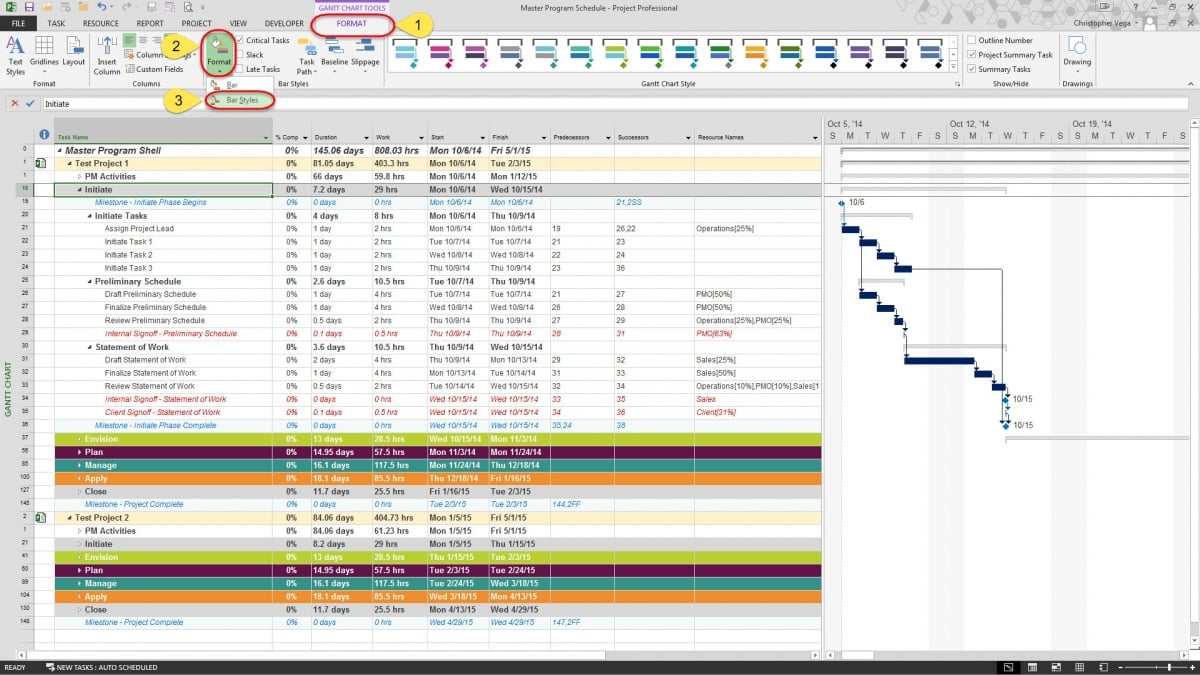
The Bar Styles dialogue box should appear displaying all the different bar styles within your project schedule.

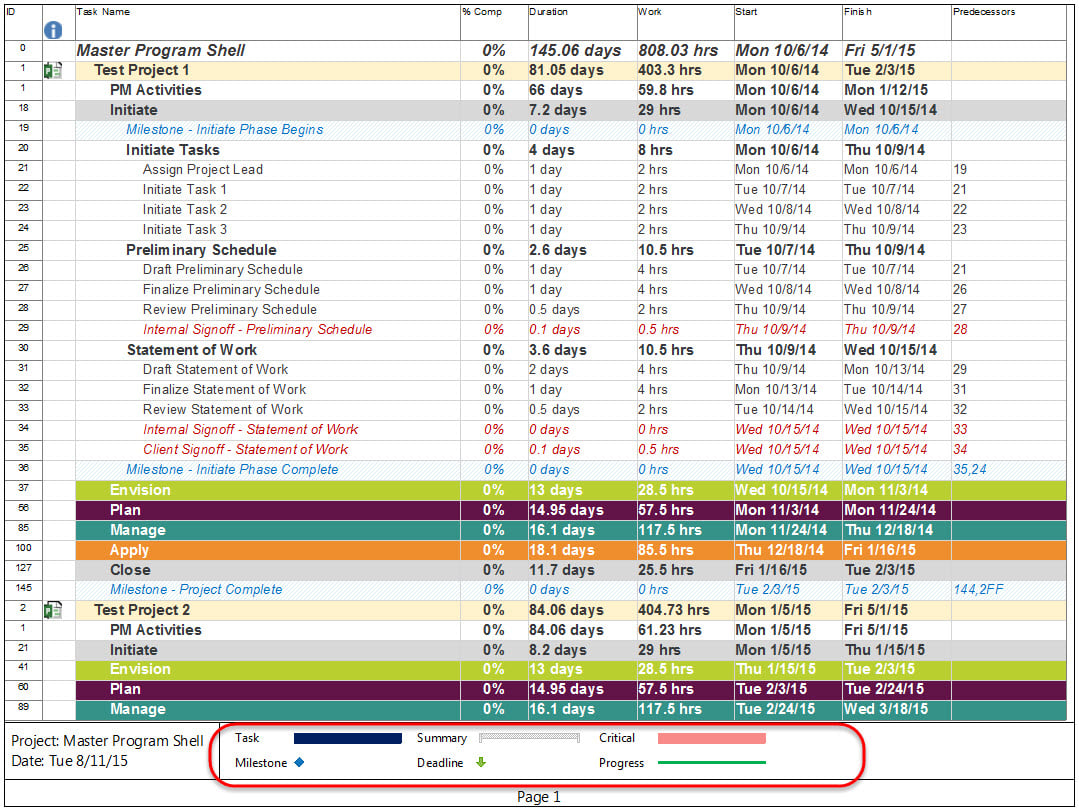
Now take note of the names of the different bar styles. You may have already noticed that some of the task names are preceeded by an asterisk (*). This is because those bar styles that have the asterisk before the name are excluded from the project print legend. So, all that needs to be done is to place an asterisk before the bar style name to remove/hide it from the project print legend… or remove the asterisk to display it in the project print legend.
Once the bar styles are properly marked in the Bar Style dialogue box, the project print legend will now be exactly the way you want it displayed.
—–
Interested in how EPMA can help you with your project schedules? Looking for a PPM Tool? Does your company want a PMO? Contact us today at 1.888.444.EPMA or [email protected].
Thanks for reading! Please feel free to leave comments below or check out our other blogs on Microsoft Project, Project Server, SharePoint and Project Management Methodology.
For more details & kick start your project management journey, sign up for our Microsoft Training Classes or send us an email.
I hope you find this blog post helpful. For more tips and tricks on Project Management, please visit www.epmainc.com
GAIN VISIBILITY WITH PPMVUE
Bring your Project Online data to life with PPMVUE.
Create dashboards and reports for Portfolios, Projects and more in few clicks. Ready to use out of the box and works with any configuration
Download From Office Store Learn More