
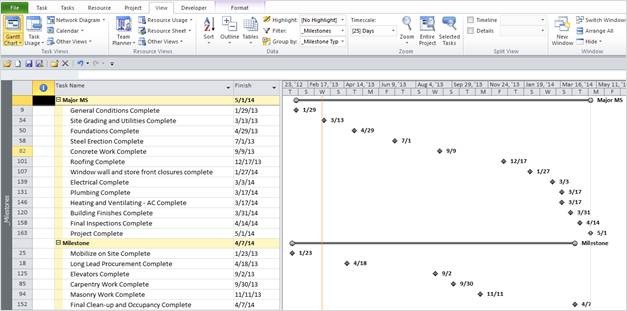
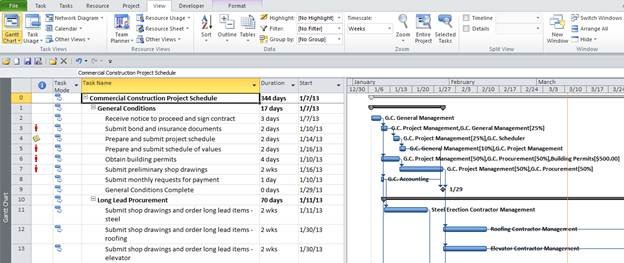
Removing custom View, Table, Filter, and Group clutter While performing your day-to-day project schedule management activities, you may create some custom Microsoft Project Views, Tables, Filters, or Groups to help visualize or present the information in your project in various ways. Perhaps you have created a custom project milestone view that displays a filtered list of milestones and their finish dates, grouped together based on whether they are ‘major’ milestones or ‘regular’ milestones… but you no longer need the View or its components (the Table, the Filter, and the Group) and you wish to remove them from the project. Now the question is: How do you remove / delete the custom View, Table, Filter, and Group from the project?
To remove a custom View, Table, Filter, or Group from your Microsoft Project schedule, you will need to utilize the Organizer. Understanding the Microsoft Project Organizer If you create a custom View, Table, Filter, or Group in Microsoft Project (which is beyond the scope of this article), then that interface customization is stored locally in the current project schedule; if you close that schedule and open another, those interface customizations will not be available.
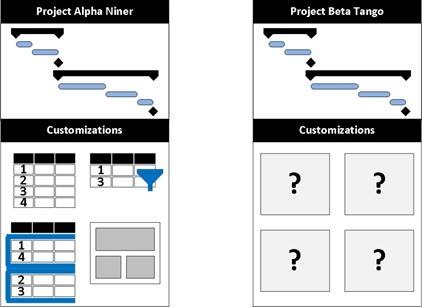
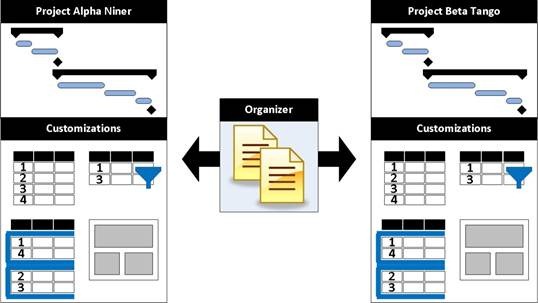
However, you can manually move any desired interface customizations to another project schedule using the Microsoft Project Organizer, a built-in tool that allows copying of custom Views, Tables, Filters, Groups, and other customizations between project schedules.
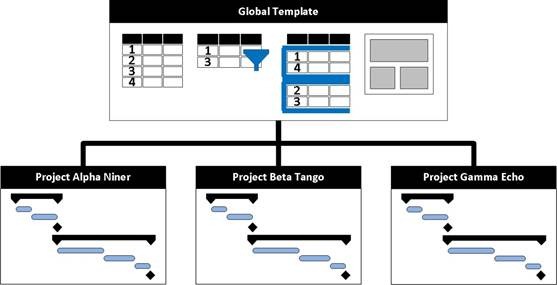
You can also the Organizer to move your customizations to a Global Template file that exists on your PC, making those customizations available in any project schedule managed by you on your PC.
In addition to copying Microsoft Project interface customizations between projects, you can also use the Organizer to remove them from a project… or remove them from the Global Template on your PC if you have copied them there. Deleting a Custom View, Table, Filter, or Group from a Project To delete a custom Microsoft Project View, Table, Filter, or Group from a project schedule, complete the following steps: 1a. (MICROSOFT PROJECT STANDARD EDITION ONLY) Click the ‘File’ tab to enter the Microsoft Project Backstage, click the ‘Info’ option from the Backstage menu, and click the ‘Organizer’button.

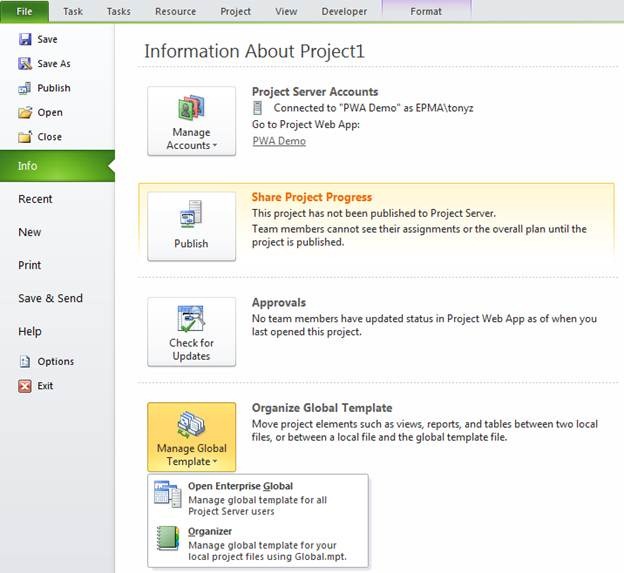
1b. (MICROSOFT PROJECT PROFESSIONAL EDITION… ONLY WHEN CONNECTED TO A PROJECT SERVER) Click the ‘File’ tab to enter the Microsoft Project Backstage, click the ‘Info’ option from the Backstage menu, click the ‘Manage Global Template’ button, and select the ‘Organizer’option from the pick list.
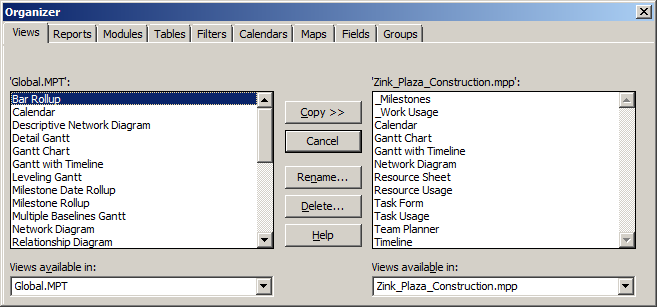
Microsoft Project displays the Organizer dialog box which contains several tabs under which you can manage various Microsoft Project interface customizations such as Views, Tables, Filters, and Groups. The dialog box displays two lists of items; one list typically contains items from your Global Template, and the other list typically contains items from the currently opened project schedule. The pick lists in the lower left corner and the lower right corner allow you to select which items you want to see or manage in each list. For example, to copy a custom View from one project schedule to another, select the source project from one of the pick lists and the destination project from the other pick list, then select and copy the desired View.
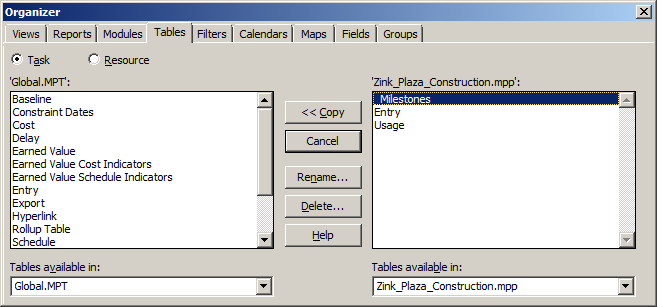
2. If there is an unwanted Table in the selected project, then click the ‘Tables’ tab in the Organizer dialog box to display a list of Tables, select the name of the unwanted Table, and click the ‘Delete…’button.
If Microsoft Project displays the ‘The table… is in use and cannot be copied or deleted.’ message, then click the ‘OK’button to acknowledge the message…
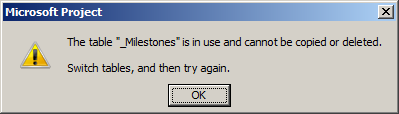
…close the Organizer dialog box, and switch to a different Table. Microsoft Project does not allow you to delete a View, Table, Filter, or Group that you are currently using to display project data.
After returning to the Organizer dialog box, select the name of the unwanted Table and click the ‘Delete…’button again…
![clip_image014[1]](https://blog.epmainc.com/wp-content/uploads/clip_image0141.png)
…and it should present the ‘Are you sure…?’ dialog, to which you should answer ‘Yes’.

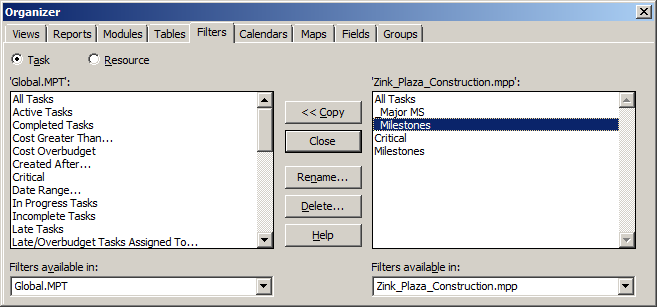
3. If there is an unwanted Filter in the selected project, then click the ‘Filters’ tab in the Organizer dialog box to display a list of Filters, select the name of the unwanted Filter, and click the ‘Delete…’button.
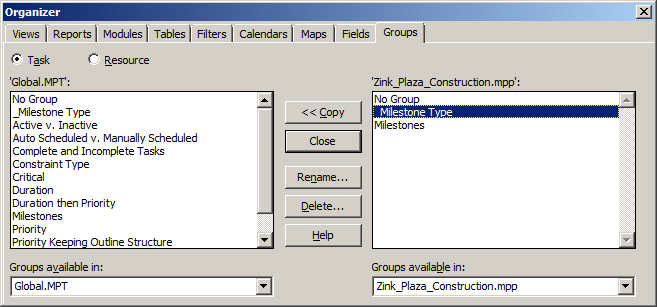
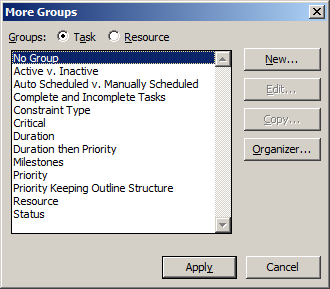
4. If there is an unwanted Group in the selected project, then click the ‘Groups’ tab in the Organizer dialog box to display a list of Groups, select the name of the unwanted Group, and click the ‘Delete…’button.
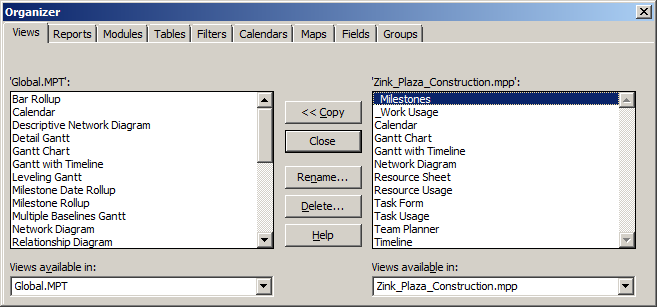
5. If there is an unwanted View in the selected project, then click the ‘Views’ tab in the Organizer dialog box to display a list of Views, select the name of the unwanted View, and click the ‘Delete…’button.
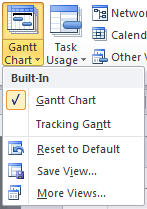
If you delete a custom View from the project using the Organizer, then Microsoft Project will no longer display the View name in the Ribbon interface…
 …and Microsoft Project will no longer display the View name in the ‘More Views’ dialog box.

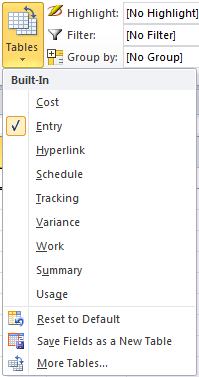
If you delete a custom Table from the project using the Organizer, then Microsoft Project will no longer display the Table name in the Ribbon interface…
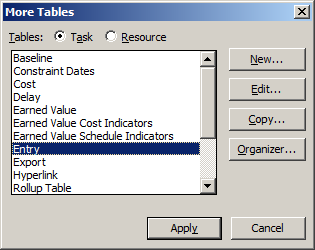
 …and Microsoft Project will no longer display the Table name in the ‘More Tables’ dialog box.
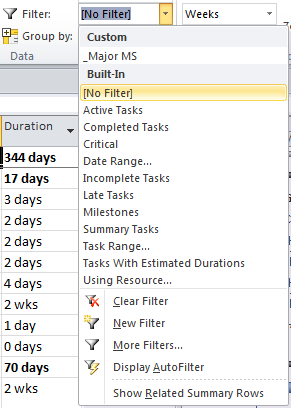
If you delete a custom Filter from the project using the Organizer, then Microsoft Project will no longer display the Filter name in the Ribbon interface…
 …and Microsoft Project will no longer display the Filter name in the ‘More Filters’ dialog box.

If you delete a custom Group from the project using the Organizer, then Microsoft Project will no longer display the Group name in the Ribbon interface…
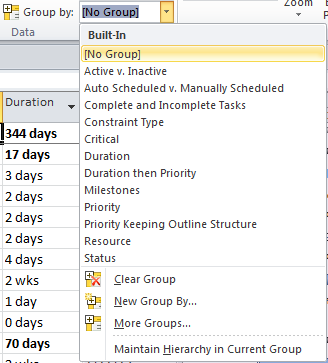
…and Microsoft Project will no longer display the Group name in the ‘More Groups’ dialog box.
Good luck!
GAIN VISIBILITY WITH PPMVUE
Bring your Project Online data to life with PPMVUE.
Create dashboards and reports for Portfolios, Projects and more in few clicks. Ready to use out of the box and works with any configuration
Download From Office Store Learn More