
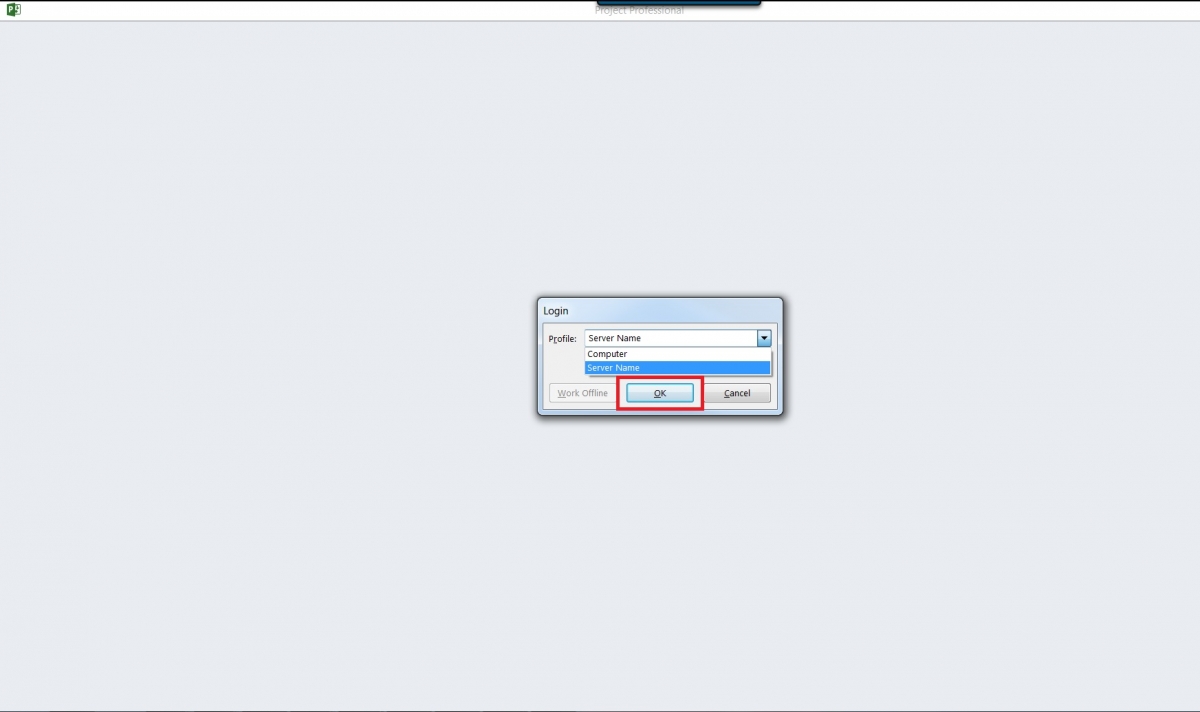
1. Double click on Microsoft Project Pro, in the Login pop-up window choose the Profile option of Computer then click OK.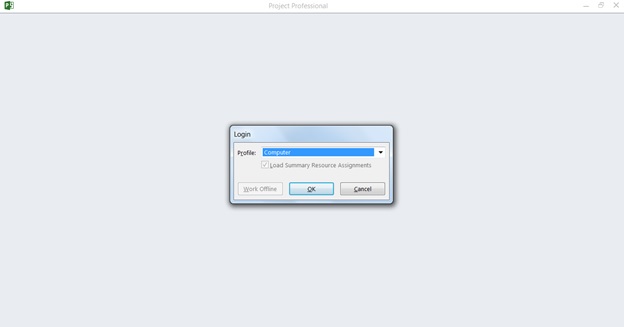
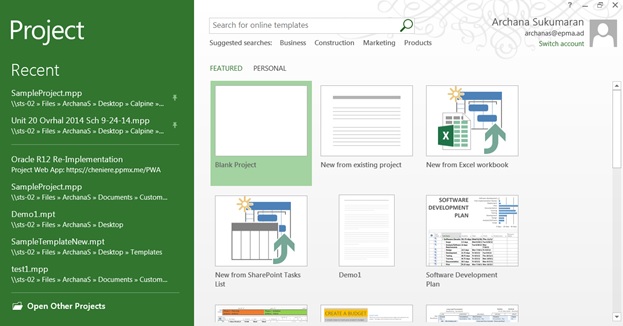
2. When the screen below appears press the ESC button on your keyboard.
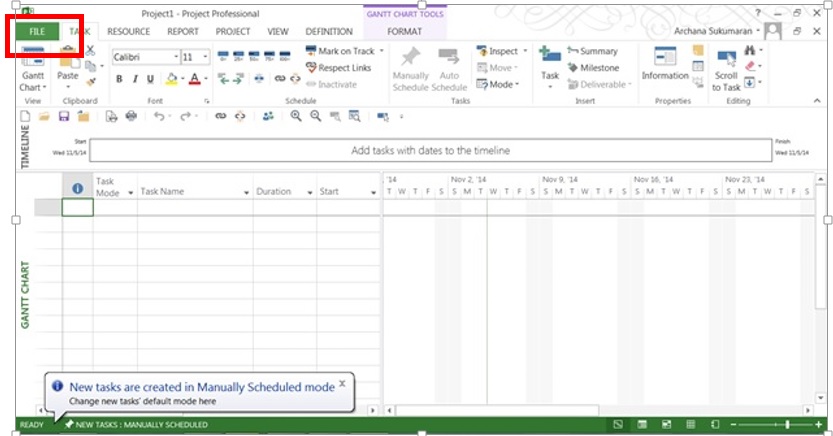
3. Click on the File tab.
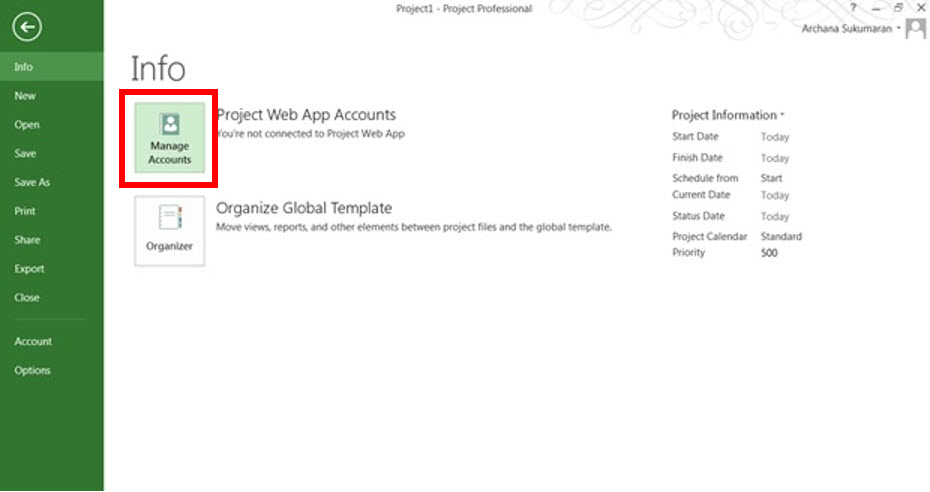
4. Click on Info.

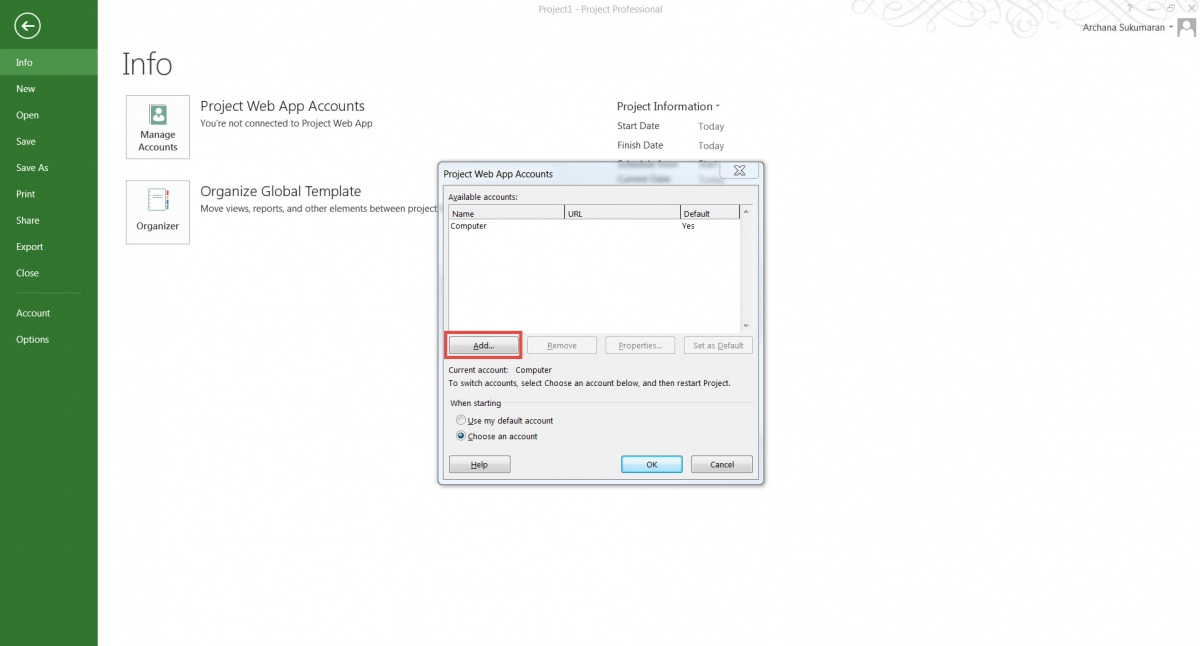
5. Under the Info section, click on “Manage Accounts”.
6. In the “Project Web App Accounts” pop-up window click on “Add”.
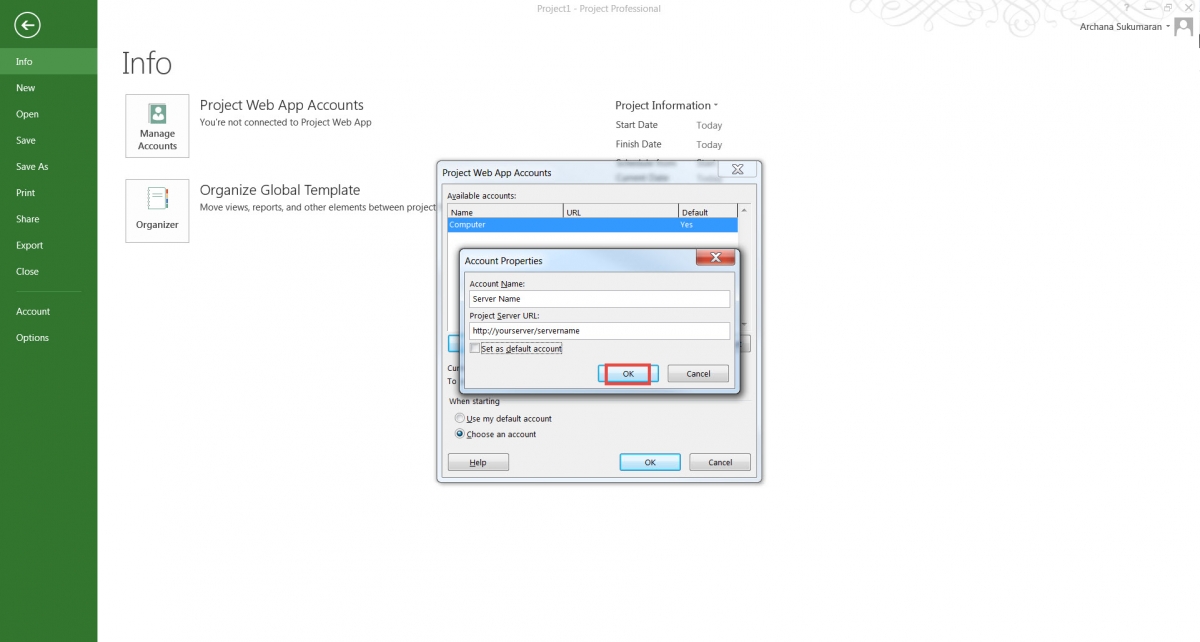
7. In the Account Properties window, enter the Account Name and Project Server URL then click OK.
(Project Server URL is the server name. For example, http://yourserver/servername.)
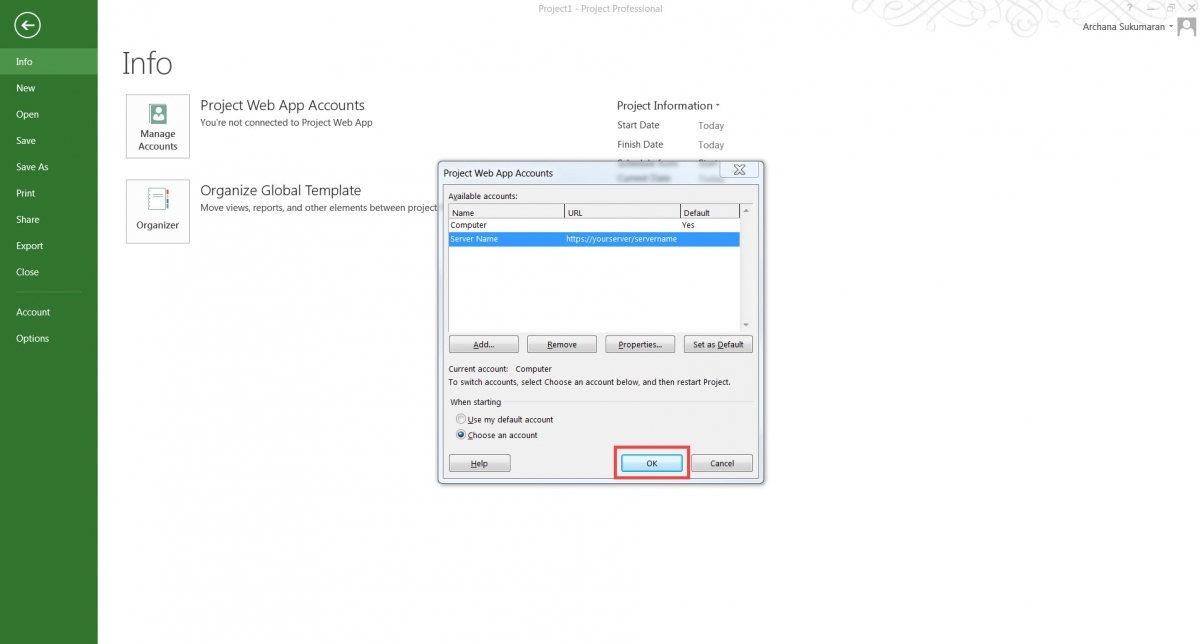
8. Now the project web app account is added, click OK on the Project Web App Accounts pop up window.
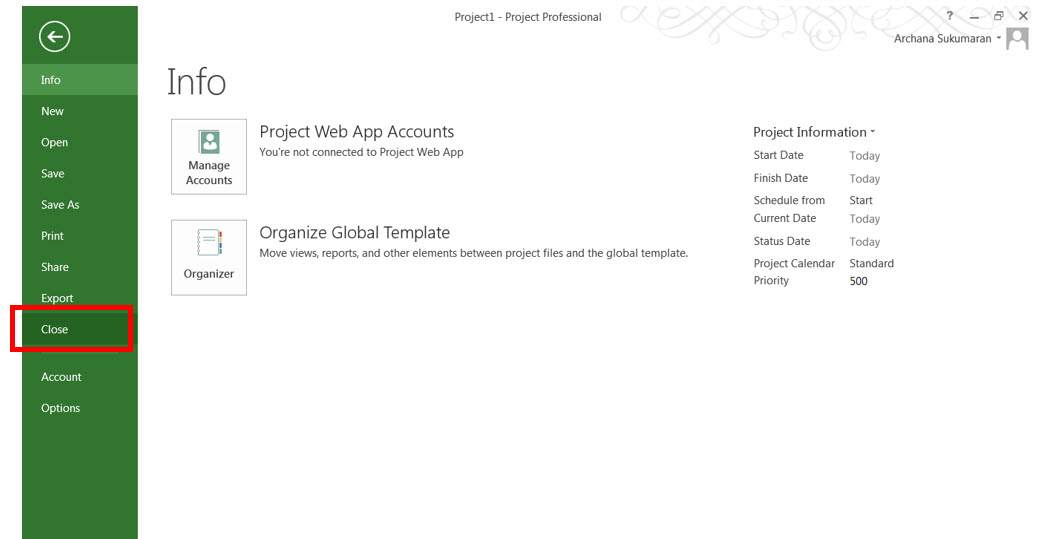
9. Close Microsoft Project Pro and then exit.
10. Open Project Pro and you will find the newly created account in the Profile drop-down (in the login pop-up window).
Thanks for reading and feel free to leave any questions below!
Interested in how EPMA can help you with your projects? Contact us today at 1.888.444.EPMA or [email protected].

GAIN VISIBILITY WITH PPMVUE
Bring your Project Online data to life with PPMVUE.
Create dashboards and reports for Portfolios, Projects and more in few clicks. Ready to use out of the box and works with any configuration
Download From Office Store Learn More