Scenario
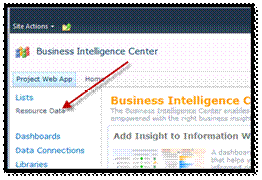
You are using Project Server 2010 across multiple departments, and now have a long list of Reports in your Business Intelligence Center (as shown below). You would like to control the view of these reports for users, and ideally by the department the user belongs to.
In this scenario, you have few options.
Option 1
Create a folder or library for each department and place the department specific reports in those libraries, and manage permissions at the library or folder level, as shown below.
However, if there were any global reports, then you would need to create a separate folder or a library and manage them separately.
This approach is not bad, but could be some maintenance work to make sure all libraries are configured properly; access is controlled properly and so on.
So, what I want to blog about in this article is a way to control the list of reports that are shown to a user, controlled by the user’s department.
Here is summary of the approach:
· Use an External Content Types to surface the Resources and their Departments in a SharePoint list.
· Tag all the reports with one or more departments
· Use the Current user filter to filter based on both of the above.
Step 1: Create an External Content Type to pull the Resource Data
A step-by-step approach on how to create an external Content type from a SQL Server Table has been detailed in this article: http://msdn.microsoft.com/en-us/library/ee557243(v=office.14).aspx.
The only differences in our case would be that
1) you would point it to the Project Server Reporting Database
2) you could use the Secure Store Authentication, that you probably setup for the Report Viewers group to authenticate this as well.
So the settings would look something like this:
Make sure you have the appropriate permissions, on both PWA and SQL Server.
After Setting up the data connection, since we require the Resource Data, we will use the MSP_EPMRESOURCE_USERVIEW.
Setup the Read List and Read Item operations on this database. (please refer to the above mentioned article on how to do it). You do not want the users to have authority to update the Reporting database itself, so you would not set up the remaining operations.
While setting up the operations, the only fields we need are Resource Name, Resource NT Account and Resource Department. Resource UID will serve as the identifier, so you will need to include that as well.
Once you are done setting both the operations, you should see this in the SharePoint Designer View.
Go ahead and save the External Content Type.
Now the next step is to configure the permissions on the External Content Type. Or else users will receive an error.
To configure the security,
· Navigate to Central Administration >> Manage Service Applications, and select the Business Data Connectivity Services application
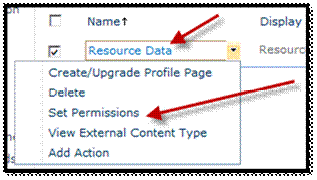
You will see the ECT that you just created. Select the item, and drop down the context menu by clicking on the small black arrow beside it, and select “Set Permissions”
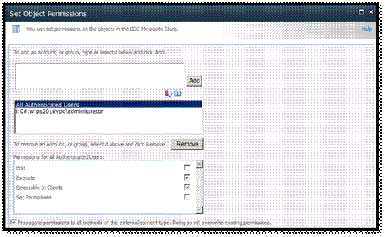
Now select the appropriate AD group and related permissions. This is how I set up mine.
Step 2: Set up an External List
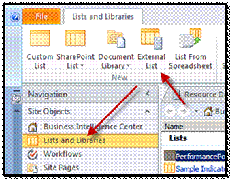
Now navigate back to SharePoint Designer, and select External List as shown below to create the external list.
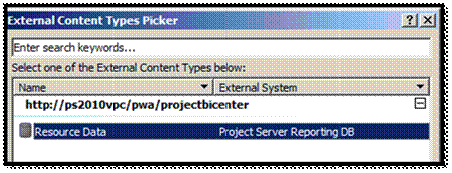
Select the External Content Type you just created, and select OK. Provide a name and description on the next pop-up.
This creates the External List on the BI Center site.
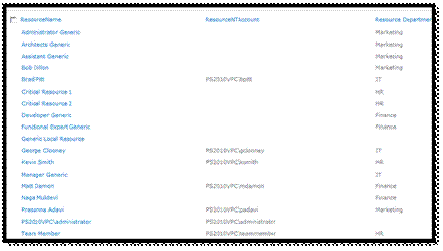
And it should bring up something like this
In my next post, we will make use of this external list and add all necessary filters.


