
One of the questions I often get from clients I have worked with is “How do I customize my own view?” What I do, is to walk them through the following steps on how to customize their own view in Microsoft Project Pro 2013.
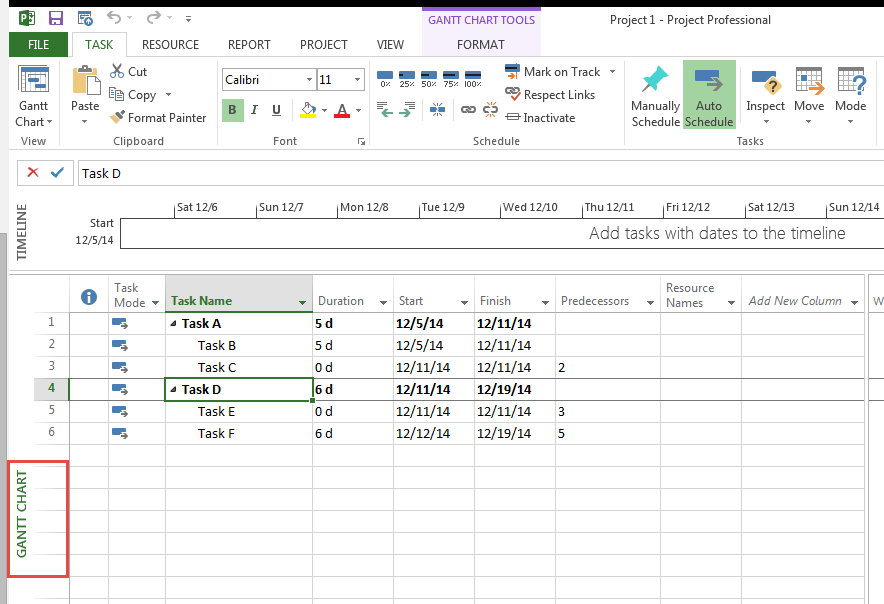
1. Click the Task tab to display the Task Ribbon. Notice that the Gantt Chart is highlighted, this is because we are on the Gantt Chart view
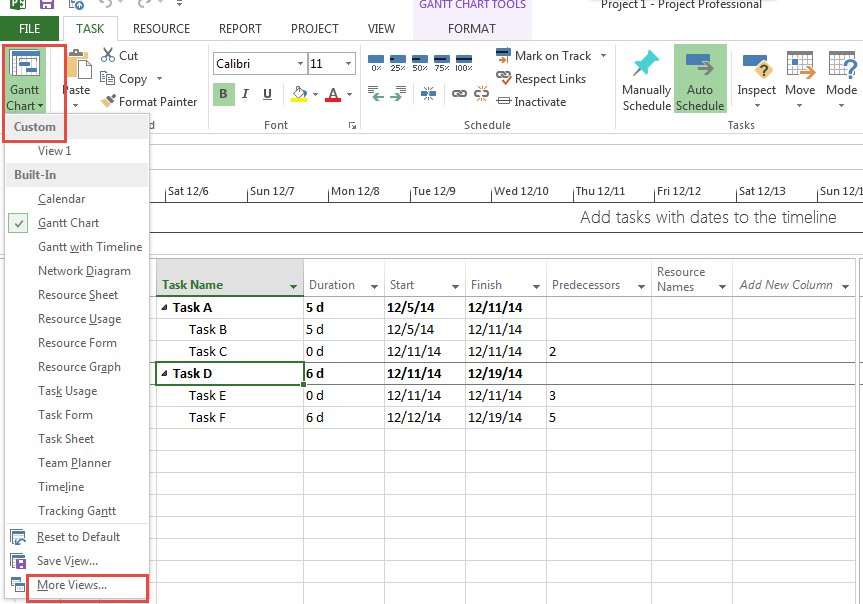
2. Click the Gantt Chart drop down list and select More Views
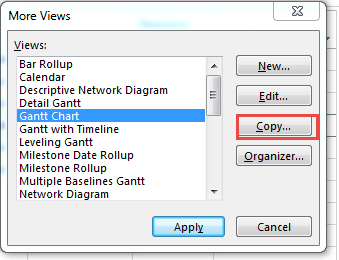
3. The More Views pop-up box will appear, click on Copy
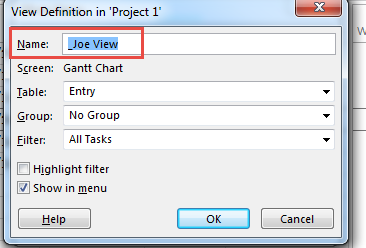
4. Once you click Copy, the View Defintion in ‘Project Name’ box will appear,
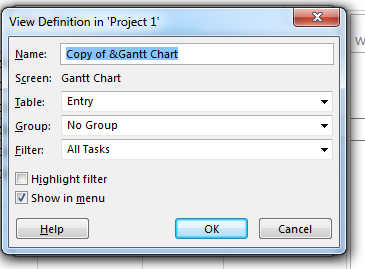
5. Change the Name field to whatever name you want to give your customized view. For the purpose of this teaching, I will call it _Joe View. Make sure that the Show in Menu box is checked so as to have the newly created view appear in your Custom view and click OK and then Apply.
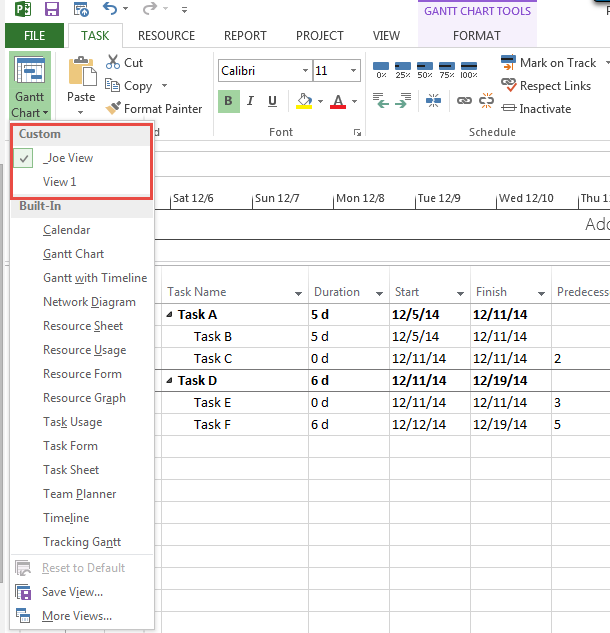
6. You will find that the newly created view _Joe View now appears on the Cutsom view list and you can use this view any time you wish.
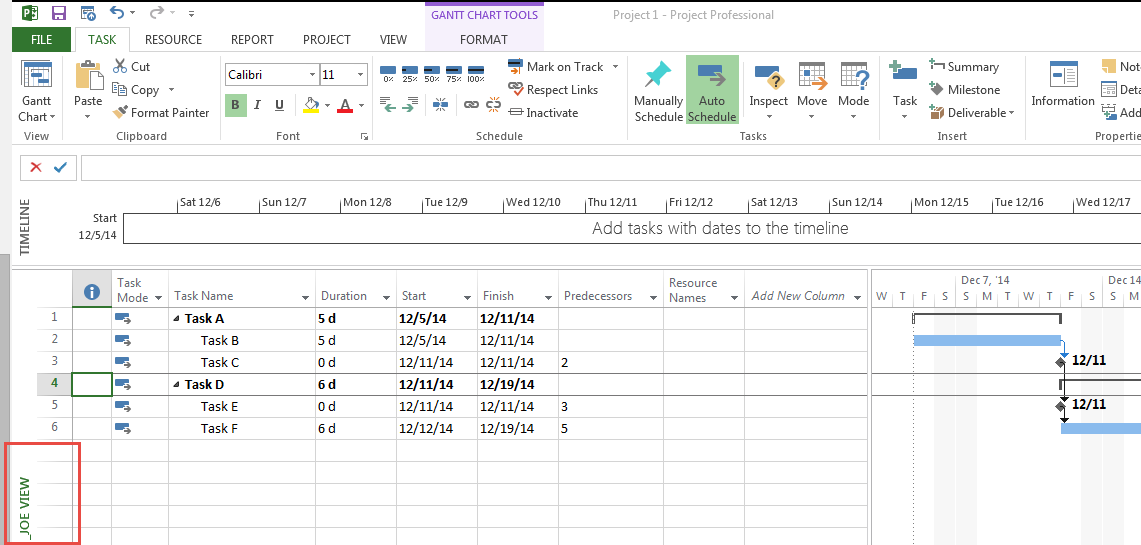
Once these steps are complete, you have successfully customized you own View.
Did this blog post help you? Would you like to learn more about how to effectively use Microsoft Project, Microsoft Project Server, or Project Online to manage your projects?
If so, please consider enrolling in one of our upcoming open enrollment training classes.
You can take our training classes “in person” in our EPMA training center in Houston, Texas or “live-virtual” over the Internet.
And don’t forget to follow us on Twitter, LinkedIn, and Facebook.
GAIN VISIBILITY WITH PPMVUE
Bring your Project Online data to life with PPMVUE.
Create dashboards and reports for Portfolios, Projects and more in few clicks. Ready to use out of the box and works with any configuration
Download From Office Store Learn More